Okta
To configure SSO with Okta, you can use the available Postman app in Okta or create a custom SAML application. You must be an administrator in both Okta and Postman to configure SSO for your team.
Configuring SSO with Okta
Before configuring SSO in Okta, you must configure SSO in Postman. When choosing the Authentication Type, select Okta. Name your authentication and click Continue.

To continue configuring SSO with Okta, choose one of the following:
Configuring SSO using the Postman Okta app
It’s recommended that you configure SSO with Okta using the Postman Okta app.
To continue configuring the Postman app in Okta, do the following:
-
Open your Okta admin console in a new tab.
-
Go to Applications, and then click Applications.
-
Click Browse App Catalog.

-
Search for “Postman”. Select the Postman app from the results, and then click Add Integration.

-
In the General Settings screen, enter an application label you’ll recognize later, and then click Done.
-
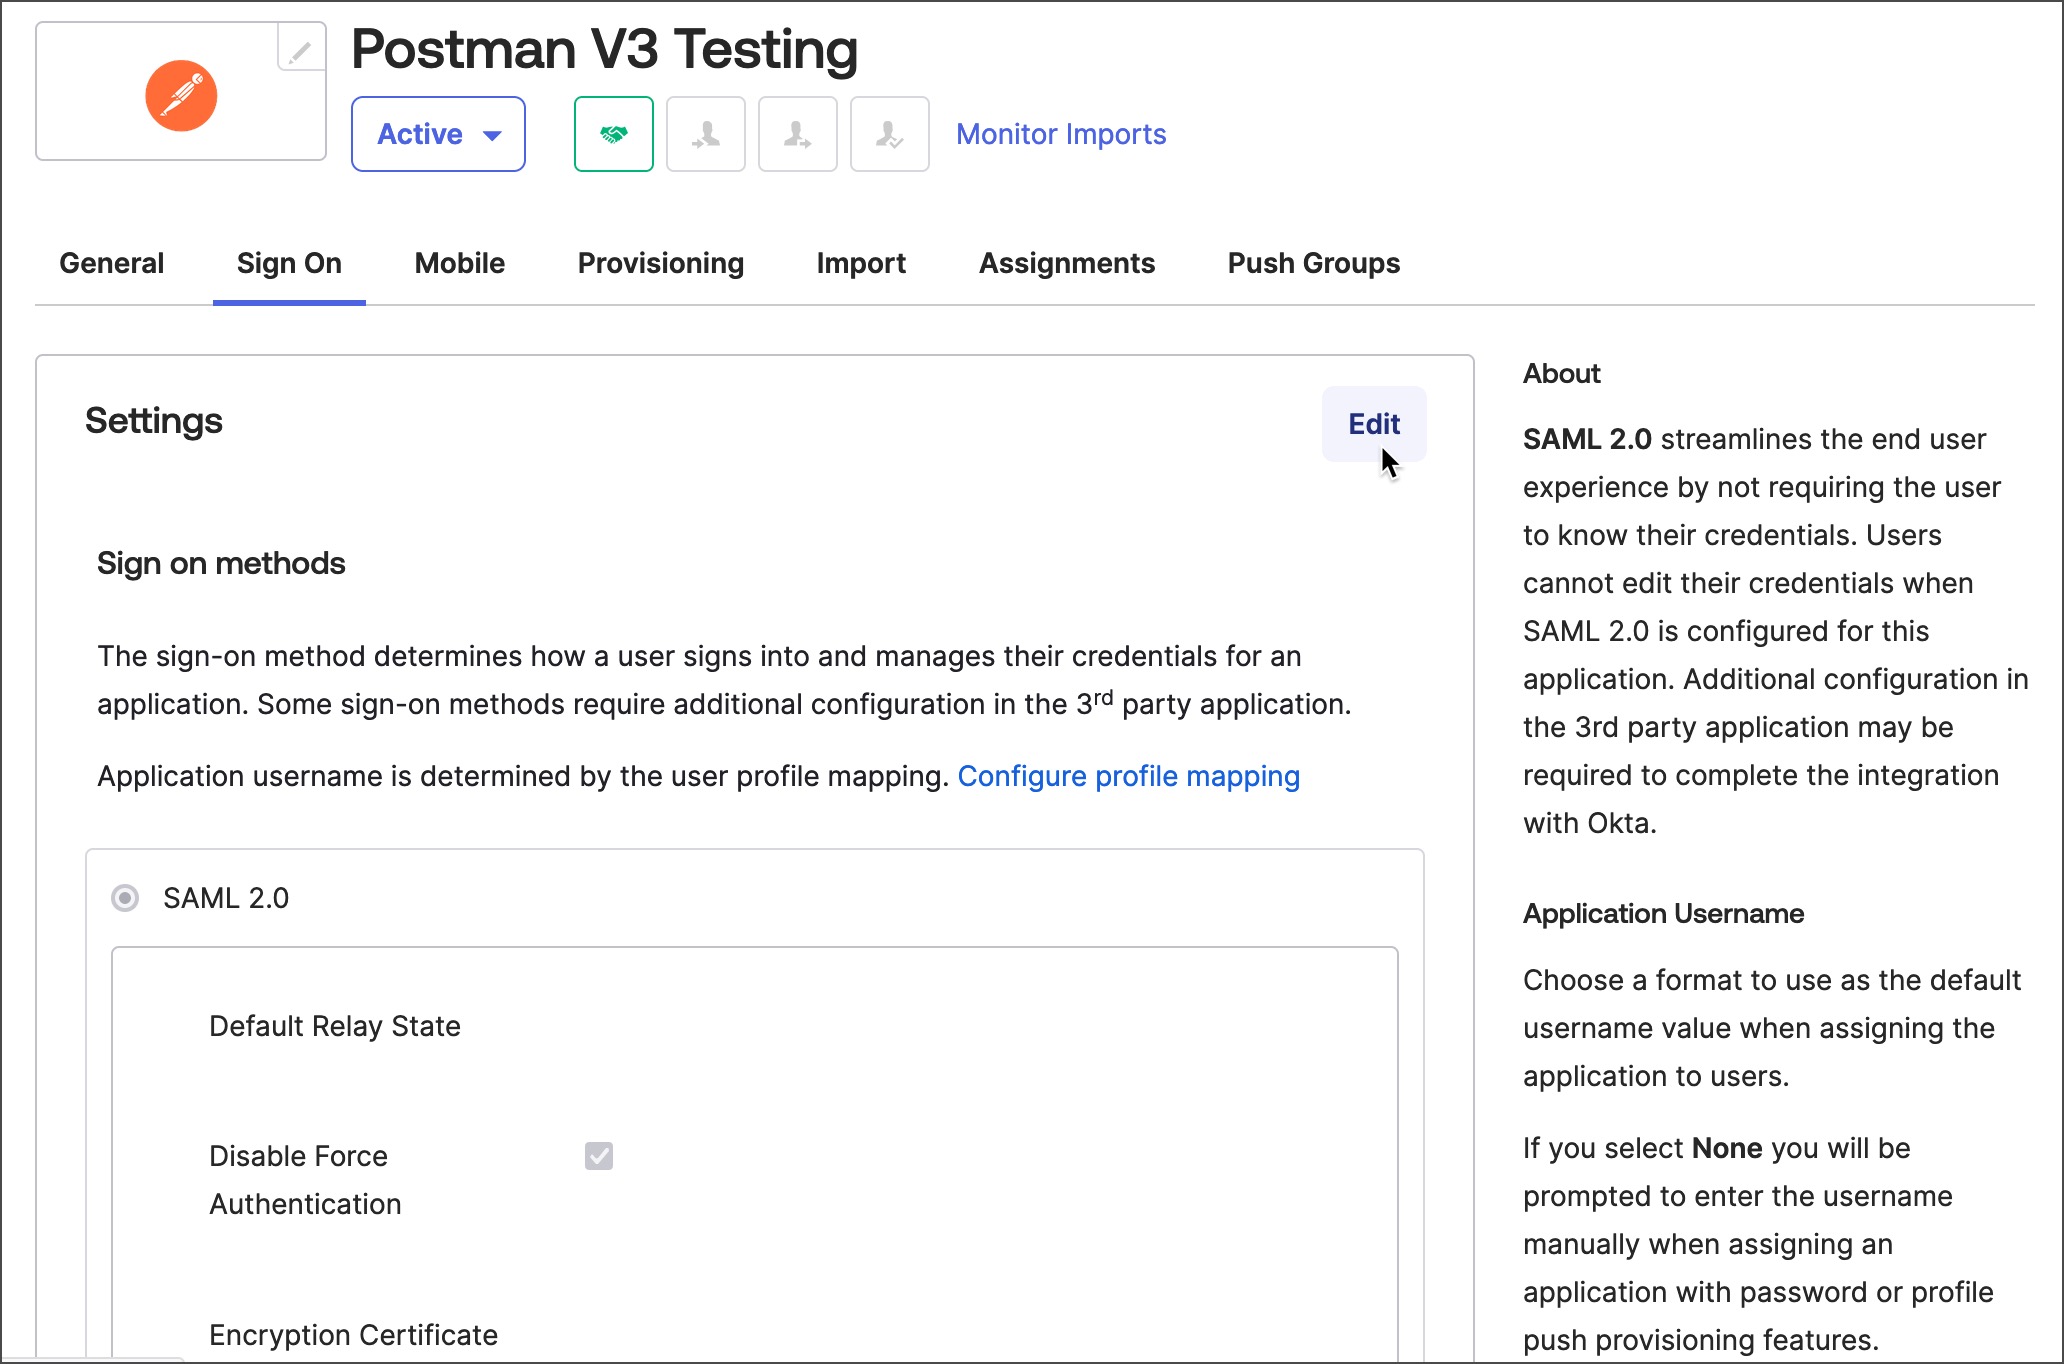
Click the Sign On tab, and then click Edit.
-
Take the Relay state generated from Postman and add it as your Default Relay State. Upload the Encryption Certificate downloaded from Postman. Take the ACS URL from Postman and add it to your configuration in Okta, and then click Save.

-
Click View SAML setup instructions to display SAML configuration instructions, including the identity provider (IdP) details.
-
In Postman, enter the SSO URL, Identity provider issuer, and X.509 Certificate individually under Identity provider details.
-
Click Save Authentication in Postman.
Configuring SSO using a custom SAML app
To continue configuring your custom SAML application, do the following:
You can’t use a custom SAML app to configure SCIM (System for Cross-domain Identity Management) provisioning through Okta.
-
Open your Okta admin console in a new tab.
-
Go to Applications, and then click Applications.
-
Click Create App Integration.
-
In the Create a new app integration screen, select SAML 2.0 and then click Next.

-
In the General Settings tab, enter an app name you’ll recognize later, and then click Next.
-
In the Configure SAML tab, take the ACS URL from Postman and add it as your Single sign-on URL. Take the Entity ID from Postman and add it as your Audience URI (SP Entity ID). Take the Relay state generated from Postman and add it as your Default RelayState. Select EmailAddress as the name ID format.

-
Click Show Advanced Settings. Click Encrypted as the assertion encryption, AES128-CBC as the encryption algorithm, and RSA-1.5 as the key transport algorithm. Upload the Encryption Certificate downloaded from Postman, and then click Next.

-
In the Feedback tab, click I’m an Okta customer adding an internal app. Select This is an internal app that we have created as the app type, and then click Finish.
-
Click the Sign On tab, and then click View SAML setup instructions to display the IdP details.

-
In Postman, enter the SSO URL, Identity provider issuer, and X.509 Certificate individually under Identity provider details.
-
Click Save Authentication in Postman.
Next steps
Now that you’ve set up SSO with Okta using the Postman app, you can learn about setting up SCIM provisioning:
- To learn more, visit Configuring SCIM with Okta. (Enterprise teams only.)
Last modified: 2023/01/19
